Did you know that travelers lose an average of 5.3% on every international transaction through traditional bank cards? That’s like throwing away $53 for every $1,000 you spend abroad! I’ve been using the Wise Multi Currency Card for over five years across 30+ countries, and I’m excited to share everything you need to know about this game-changing financial tool. Whether you’re a frequent traveler, digital nomad, or someone who regularly deals with multiple currencies, this comprehensive guide will walk you through exactly how the Wise card works in 2025.
Getting Started with Your Wise Multi Currency Card
Let me tell you about my first experience getting a Wise card – I was honestly surprised at how straightforward it was! After years of dealing with traditional banks and their endless paperwork, this was a breath of fresh air.
The first thing you’ll need to do is create your Wise account. I remember sitting in my favorite coffee shop, thinking it would take hours, but I was done in about 10 minutes! Just head to their website or download the app, and you’ll need to provide some basic information – your email, phone number, and a valid ID.
Now, here’s something I wish someone had told me earlier – have your proof of address ready! It can be a utility bill or bank statement, but it needs to be recent (within the last 3 months). Trust me, this will save you some back-and-forth later.
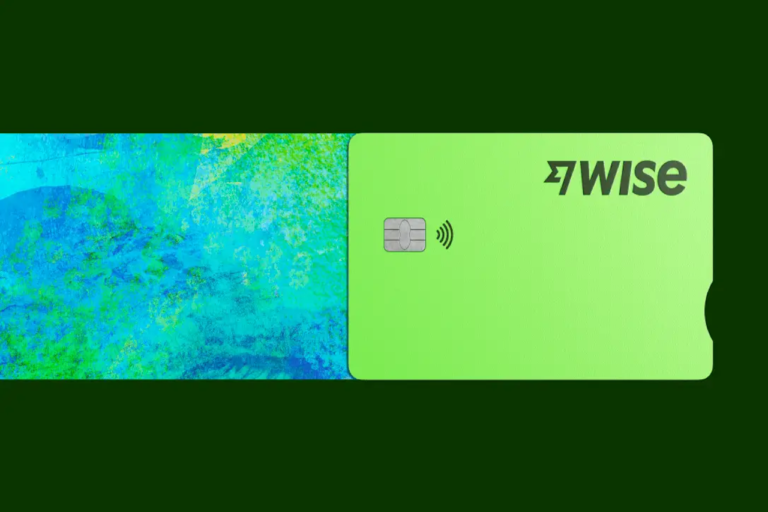
Once you’re verified (which usually takes 1-2 business days), you can order your physical card. It costs about $9 in most countries – way cheaper than what traditional banks charge for international cards. But here’s a pro tip: while waiting for your physical card, you can instantly get a virtual card! I actually used mine for online purchases within minutes of signing up.

Understanding the Multi Currency Features
You know that feeling when you’re traveling and constantly worried about exchange rates? Yeah, I’ve been there too. But the multi-currency feature on the Wise card is a game-changer, and I’m excited to break it down for you!
Think of your Wise account as a collection of different bank accounts, each in a different currency. It’s like having a local bank account in multiple countries, all managed through one card. Pretty neat, right? I remember when I first discovered this – I was planning a trip through Europe and was amazed that I could hold euros, pounds, and Swiss francs all at once!
The real magic happens with the exchange rates. Unlike traditional banks that often hide their markup in the exchange rate (sneaky, right?), Wise uses the real mid-market rate – the same one you see on Google. I learned this the hard way after years of getting ripped off by my old bank’s “no fee” foreign transactions that actually had horrible exchange rates.
Let’s talk about how it actually works. When you load money into your Wise account, you can convert it into any of the 40+ available currencies whenever you want. The best part? You can do this instantly in the app, and you’ll see exactly what you’re getting before you convert. I’ve saved hundreds of dollars by converting when rates are favorable!
Fees and Pricing Structure 2025
Let’s talk about money – specifically, how much this all costs. I’ve spent years comparing different international cards, and I’ll break down exactly what you’re paying for with Wise.
First up, getting the card itself costs $9 in the US (prices vary by country). Seems fair, right? But here’s where it gets interesting – unlike traditional banks, Wise is incredibly transparent about their fees. No more squinting at fine print or getting surprise charges!
For ATM withdrawals, you get two free withdrawals per month up to $100 each. After that, it’s 2% per withdrawal. Here’s a money-saving tip I learned the hard way – plan your withdrawals! I used to make frequent small withdrawals until I realized I was paying extra fees unnecessarily.
For currency conversion, you’ll pay between 0.43% to 0.67% depending on the currency pair. This might sound like a lot, but here’s the kicker – traditional banks often charge 3-5% PLUS a worse exchange rate. I calculated that I saved over $300 on my last three-week Europe trip just by using Wise instead of my regular bank card!
One thing I absolutely love – there are no monthly fees or inactivity fees. You only pay when you actually use the service. After getting charged $15/month for my old “premium” travel card, this was a huge relief!
Using Your Wise Card for Daily Transactions
After using my Wise card for everything from coffee shops in Tokyo to online shopping in the US, I’ve got some real-world insights to share about daily transactions.
Here’s something cool I discovered – the card automatically uses the currency of the country you’re in if you have it in your account. I was in Barcelona last summer, and when I paid for my tapas, it automatically used my EUR balance without any conversion fees. If you don’t have the local currency, it’ll convert from your default currency at the mid-market rate plus that small conversion fee I mentioned earlier.
Online shopping is where this card really shines! You know those annoying foreign transaction fees when you’re shopping on international websites? Gone! I regularly buy from UK websites using my GBP balance, and it’s just like having a local card. Plus, the virtual card feature adds an extra layer of security – I use it exclusively for online purchases.
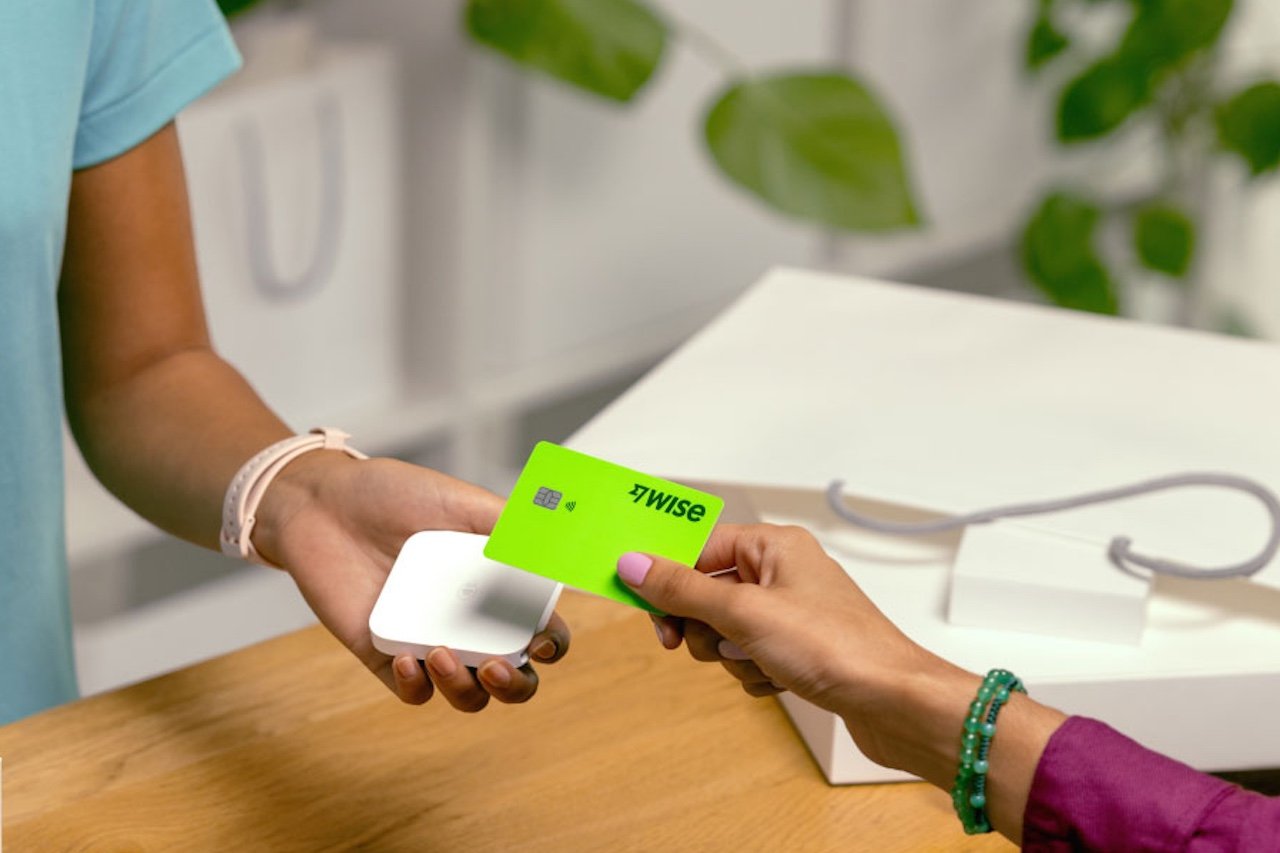
Let me tell you about contactless payments – they work flawlessly! I’ve used Google Pay and Apple Pay across multiple countries, and it’s just as smooth as using a local card. Just remember to enable international payments in the app before traveling – learned that one the hard way during my first trip!
Managing Your Money in the Wise App
The Wise app is like having a financial command center in your pocket, and trust me, it’s become one of my most-used apps! Let me walk you through the features that have made managing multiple currencies a breeze.
First off, the real-time balance tracking is incredible. You can see exactly how much you have in each currency, and the app automatically converts everything to your home currency for easy reference. I love checking my balances while having my morning coffee – it helps me plan my currency conversions when rates are favorable.
The transaction notifications are a lifesaver! Every time you make a purchase, you get an instant notification showing exactly what you spent in both the local currency and your home currency. This feature helped me catch a duplicate charge at a hotel in Paris within minutes.
Here’s a pro tip I discovered: use the recurring payment feature for subscriptions in different currencies. I pay for my streaming services in their local currencies, saving about 3-4% compared to letting my bank handle the conversion.
Safety Features and Security Measures
After nearly losing my card in Bangkok (spoiler: it was in my other pocket!), I gained a whole new appreciation for Wise’s security features. Let me share what I’ve learned about keeping your money safe.
The instant card freeze feature is a game-changer. One click in the app, and your card is frozen – I do this automatically now whenever I can’t immediately locate my card. You can just as easily unfreeze it when you find it (usually in that other pocket you “already checked”).
Two-factor authentication has saved me more than once. Every time you log in from a new device or make certain types of transactions, you’ll need to confirm it’s really you. Yes, it takes an extra few seconds, but it’s worth it for the peace of mind.
One security feature I absolutely love is the location-based security. You can enable or disable regions for card usage right from the app. Before heading to Thailand, I specifically enabled Asian regions for my card – any attempted transactions outside that area would’ve been declined.
Troubleshooting Common Issues
Let’s talk about those “uh-oh” moments – we all have them, and I’ve had my fair share with the Wise card. But don’t worry, I’ve figured out solutions to most common problems!
The most common issue? Declined transactions. Usually, it’s because you haven’t enabled international payments or the specific region you’re in. Another quick fix – check if you have sufficient funds in the local currency. I once had a payment declined in Japan because I forgot to convert some money to Yen!
ATM troubles? First, make sure you’re using the right PIN – it’s not automatically the same as your online PIN. Also, some ATMs have lower withdrawal limits than your Wise card allows. I’ve found that bank ATMs generally work better than independent ones.
If you need to replace your card, the process is pretty straightforward. You can order a replacement right from the app, and it usually arrives within 2-3 weeks. Pro tip: immediately activate your virtual card while waiting for the physical replacement!
Conclusion
After using the Wise Multi Currency Card for years across dozens of countries, I can confidently say it’s revolutionized how I handle international spending. From saving hundreds on currency conversion to the peace of mind that comes with robust security features, it’s become my go-to card for all things international.
Remember, the key to maximizing your Wise card benefits is understanding all its features and planning ahead. Enable international payments before you travel, keep an eye on exchange rates for better conversion timing, and always have a backup payment method just in case.
Ready to start your own international money journey? Head over to Wise’s website to order your card.
Find Awesome stays
Wondering where to do stay during your Trip? Explore a range of hotels luxury, mid-range to budget friendly!
Things to do
What to do during your holiday? A range of activities from solo to family friendly to group activities!